How to Glue Down Vinyl Plank Flooring (Dry-Back LVT Guide)
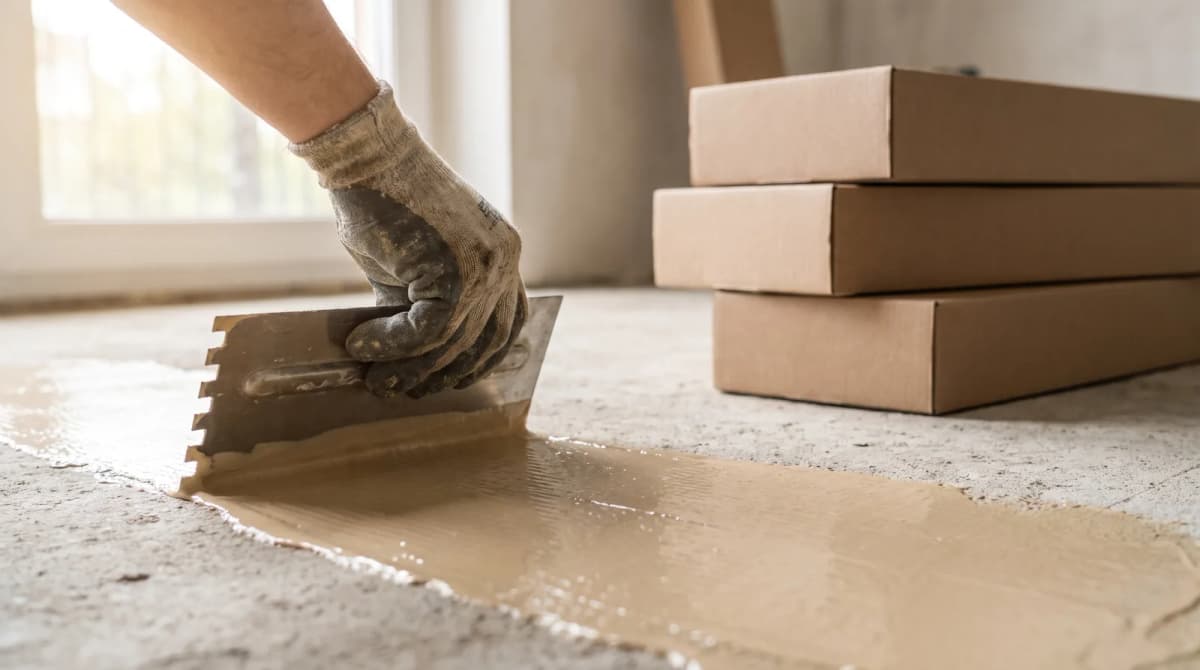
Glue-down (dry-back) vinyl plank bonds permanently to a clean, primed subfloor with a pressure-sensitive adhesive. The adhesive choice depends entirely on your slab's moisture level. On a dry, older slab, Henry 630 PeachPro is the standard call. On a damp or untested concrete slab (common in basements and condos), Henry 695 High-RH is built to handle it. Get the substrate right and the adhesive right, and a glue-down vinyl floor will outlast almost anything else in the house.
Glue-Down vs. Click-Lock: Which Vinyl Are You Actually Installing?
Most of the vinyl plank we sell at BBS is click-lock. It floats over an underlayment, no adhesive required. Glue-down (dry-back) vinyl is a different product entirely: a flat-backed plank or tile with no locking edge, bonded directly to the subfloor. If you've got a box of vinyl with a straight, square edge and no click profile, you've got glue-down on your hands.
Glue-down gets specified for a reason: it's the right choice under rolling loads (office chairs, hospital beds, retail carts), in commercial spaces with heavy foot traffic, and on floors with radiant in-floor heat, where a fully bonded plank transfers heat more evenly than a floating floor with an air gap underneath. If your project fits one of those, this guide is for you.
Why Glue-Down Instead of Floating?
It's worth pausing on this before you commit, because glue-down is more work and more permanent than click-lock. The trade-off is stability: a fully bonded floor doesn't have the slight give of a floating floor, which matters under rolling office chairs, hospital and clinic equipment, retail carts, or any space that sees constant point-load traffic in one spot. It also transfers heat more evenly over radiant in-floor heating, since there's no air gap between the plank and the slab. If your project is a standard residential main floor with normal furniture traffic, click-lock is usually simpler and just as durable, glue-down earns its extra labour in commercial and high-traffic settings.
Step 1: Get the Subfloor Right Before You Open a Pail
Adhesive bonds to the subfloor, not to dust, wax, or old adhesive residue. Before anything else:
- Sweep and vacuum thoroughly, any grit under the plank will telegraph through as a visible bump.
- Check for flatness. Vinyl plank is unforgiving of dips and humps; anything more than about 3/16" over 10 feet should be addressed with a patch or a full self-leveling pour (see our self-leveling guide if you're dealing with an uneven concrete slab).
- Remove any old adhesive residue, paint, or sealer that could act as a bond breaker between the new adhesive and the slab.
On a porous, dusty, or previously coated slab, priming first with a product like Ardex P 4 Multipurpose Primer gives the adhesive something consistent to grab. It's rated for roughly 300 sq ft per gallon and dries to a thin film in about 30 minutes at room temperature, cheap insurance against a soft bond in one corner of the room.
Step 2: Test Your Concrete Before You Pick an Adhesive
This is the step people skip, and it's the one that causes callbacks. Concrete slabs release moisture vapour from below, and every vinyl adhesive has a moisture ceiling it can handle. If you install a standard adhesive over a slab that's testing wet, you'll get soft spots, bubbling, or full adhesive failure months later, often after the floor looks perfect on install day.
If you don't have a moisture meter or a proper RH probe test done, treat any basement, condo slab, or new-pour concrete as a moisture risk and plan around it. This is exactly the decision point where Henry 630 and Henry 695 split.
Henry 630 vs. Henry 695: Which Adhesive Do You Need?
We stock both, and the difference matters more than people expect:
| Product | Best for | Coverage | Price |
|---|---|---|---|
| Henry 630 PeachPro | Normal, dry interior slabs and plywood, the standard call for most main-floor installs | ~150 sq ft per gallon | $94.00/gal |
| Henry 695 High-RH | Basements, condo slabs, or any subfloor testing wet or untested | ~150 sq ft per gallon | $73.05/gal |
Henry 695 is formulated as a releasable, high-moisture-tolerant adhesive specifically so it can handle slabs that would cause a standard adhesive to fail. If you're installing in a basement or a condo on a concrete slab, budget for 695 rather than assuming the standard product will hold. It costs less per gallon, and it's the safer call on any slab you haven't verified as bone-dry.
Both adhesives are pressure-sensitive, you spread them, let them set open until they're tacky rather than wet, then set your plank into the tacky film. Henry 630 has essentially unlimited working time once spread, so you're not racing the clock across a big room. Once the plank is down, roll it firmly in both directions with a floor roller (75–100 lb) to force full contact and squeeze out air pockets.
Open Time, Rolling, and When You Can Walk On It
Both adhesives need to set open: spread, then wait, before the plank goes down. Depending on temperature and humidity, that's typically 30 to 60 minutes until the adhesive is dry to the touch but still tacky (no transfer onto your fingers). Set the plank into that tacky film, not into wet adhesive.
Once installed and rolled:
- Light foot traffic is generally fine within a few hours.
- Hold off on furniture and heavy traffic for 24–48 hours.
- Keep the floor completely dry (no mopping, no wet cleaning) for a full 30 days while the adhesive reaches its final cure.
Room temperature matters too: condition the space, the adhesive pails, and the flooring itself to at least 65°F for 48 hours before, during, and after the install. A cold garage-stored pail of adhesive on install day is a common, avoidable mistake.
Tools You'll Actually Need
Beyond the adhesive itself, a glue-down job needs a few specifics: a notched trowel matched to the adhesive manufacturer's spec on the pail label (don't guess, using the wrong notch size changes how much adhesive ends up under the plank), a 75–100 lb floor roller to force full contact after laying, a utility knife with fresh blades for cuts, and a tape measure for layout. If you're new to glue-down work, dry-lay a few rows first to confirm your starting line and pattern before any adhesive goes down; you don't get a second chance to reposition once the plank sets into a tacky adhesive film.
Acclimation Matters More Than People Think
Vinyl plank expands and contracts with temperature, and gluing it down while it's still cold from a garage or an unheated delivery truck is a common, avoidable mistake. Bring boxes into the installation space and let them sit for the full 48-hour conditioning window called for on the adhesive label. This applies to the adhesive pails too, not just the flooring. A Markham basement in February is a very different thermal environment than the same space in July, and skipping acclimation is one of the more common causes of gapping or peaking at the seams months after install.
Seams, Cut Edges, and Sheet Vinyl
If you're working with sheet vinyl or need to seal a seam or cut edge against water intrusion (bathrooms, laundry rooms), a liquid seam sealer like Romus PVC Cold-Weld Seam Sealer chemically welds the seam rather than just gluing it, which keeps water from creeping underneath over time.
Basements and Condos: Don't Skip the Moisture Test
If you're installing in a basement or a condo on a concrete slab, treat the moisture question as non-negotiable rather than optional. Basements sit at or below grade and carry moisture pressure from the surrounding soil year-round, and GTA winters add another variable, a slab that reads dry in August can test differently after months of below-freezing ground temperatures on the outside of the foundation. Condo slabs get overlooked because they're above grade, but many are newer pours still releasing curing moisture, or sit above parking garages and mechanical rooms with their own humidity load. In both cases, default to Henry 695 unless you've confirmed the slab tests dry with a proper RH or calcium chloride test, see our full breakdown in the moisture barrier guide.
Products We Stock
- Henry 630 PeachPro Glue-Down Vinyl Adhesive (1 gal), $94.00, ~150 sq ft coverage
- Henry 695 High-RH Vinyl Adhesive (1 gal), $73.05, ~150 sq ft coverage
- Romus PVC Cold-Weld Seam Sealer (44 g), $36.75
- Ardex P 4 Multipurpose Primer (1 gal), $91.85, ~300 sq ft coverage
See the full range at Adhesives & Primers, or use our quantity calculator to figure out how many pails your room needs. Need a trowel or floor roller too? Check installer tools.
Cost Snapshot: What a Room Actually Costs in Adhesive
For a typical 300 sq ft room at ~150 sq ft coverage per gallon, budget around 3 gallons of Henry 630 or 695 with a standard waste factor, roughly $220–$280 in adhesive depending on which one your slab calls for, before primer. See our full adhesive quantity guide for the math on larger rooms and primer add-ons.
When to Call In a Pro
Glue-down vinyl is DIY-able, but a moisture test, a genuinely flat subfloor, and choosing the right adhesive are the three places amateur installs go wrong. If you'd rather not gamble a full room of vinyl on a moisture guess, our crews install glue-down vinyl daily across Markham and the GTA and can test your slab before a single pail gets opened.
Pick up adhesive, primer, and seam sealer at our Markham showroom, or call (647) 428-1111 for a quote on supply-only or full installation.
Your next step
Everything referenced above is in stock or available to order through our installation supplies section, with per-unit coverage listed so you can buy the right quantity the first time. Not sure what your subfloor needs? Call (647) 428-1111 or book a free in-home measurement and we will spec the adhesive, underlay and prep with the floor.
Frequently Asked Questions
Do I need to glue down vinyl plank, or can I float it?
Most vinyl plank sold today is click-lock and floats over an underlayment. No glue is needed. Glue-down (dry-back) vinyl is a separate product without a locking edge, and it's the right call for commercial-grade traffic, rolling loads (wheelchairs, office chairs), or floors going over radiant heat where a fully bonded floor performs better. If you're not sure which you bought, check the edge profile: a locking click edge means it floats, a straight square edge usually means glue-down.
What's the difference between Henry 630 and Henry 695 adhesive?
Henry 630 PeachPro is our standard glue-down vinyl adhesive for normal interior slabs and plywood subfloors. Henry 695 is the high-RH version, built for concrete that's testing wet: condos on a slab, basements, or any subfloor where you haven't had a chance to let it dry out fully. If you don't know your slab's moisture reading, ask us before you buy; using 630 on a wet slab is the #1 cause of adhesive failure and bubbling planks.
How long do I have to wait before walking on glued vinyl plank?
Light foot traffic is generally fine within a few hours once the adhesive is tacky-dry, but restrict heavier traffic and furniture for 24 to 48 hours, and keep the floor completely dry (no mopping, no spills) for a full 30 days while the bond fully cures.
Do I need to prime the subfloor before gluing vinyl plank?
On a clean, dense concrete slab, usually not. On a porous, dusty, or previously coated slab, or over patched areas, a primer like Ardex P 4 helps the adhesive bond properly and stops the slab from sucking moisture out of the adhesive too fast. When in doubt, prime. It's a cheap insurance policy against a callback.
Can I glue vinyl plank over old vinyl or tile?
Sometimes, but it depends on the condition of what's underneath. A sound, flat, single layer of vinyl or well-bonded tile can work as a substrate. Anything cushioned, loose, cracked, or multi-layered needs to come up first. Glue doesn't fix a bad substrate; it just telegraphs the problem through your new floor.